Finding Normal (Again)

When I started this blog in January, I talked about a previous blog – one that I had quit writing when I was pregnant with my oldest son. Apparently it’s just hard for me to blog while pregnant.

If you were wondering where I have disappeared to, well – it happened again. I was pregnant, and I just couldn’t keep up.

I’m guessing you caught the word “was” in that last sentence. I was pregnant. I’m not anymore. The month of June was joyous for our family.  We traveled and saw friends and family, we hosted VBS at our church, and we celebrated a new life that was growing in my womb.  And I was nauseous, but we’ll just ignore that for this post.


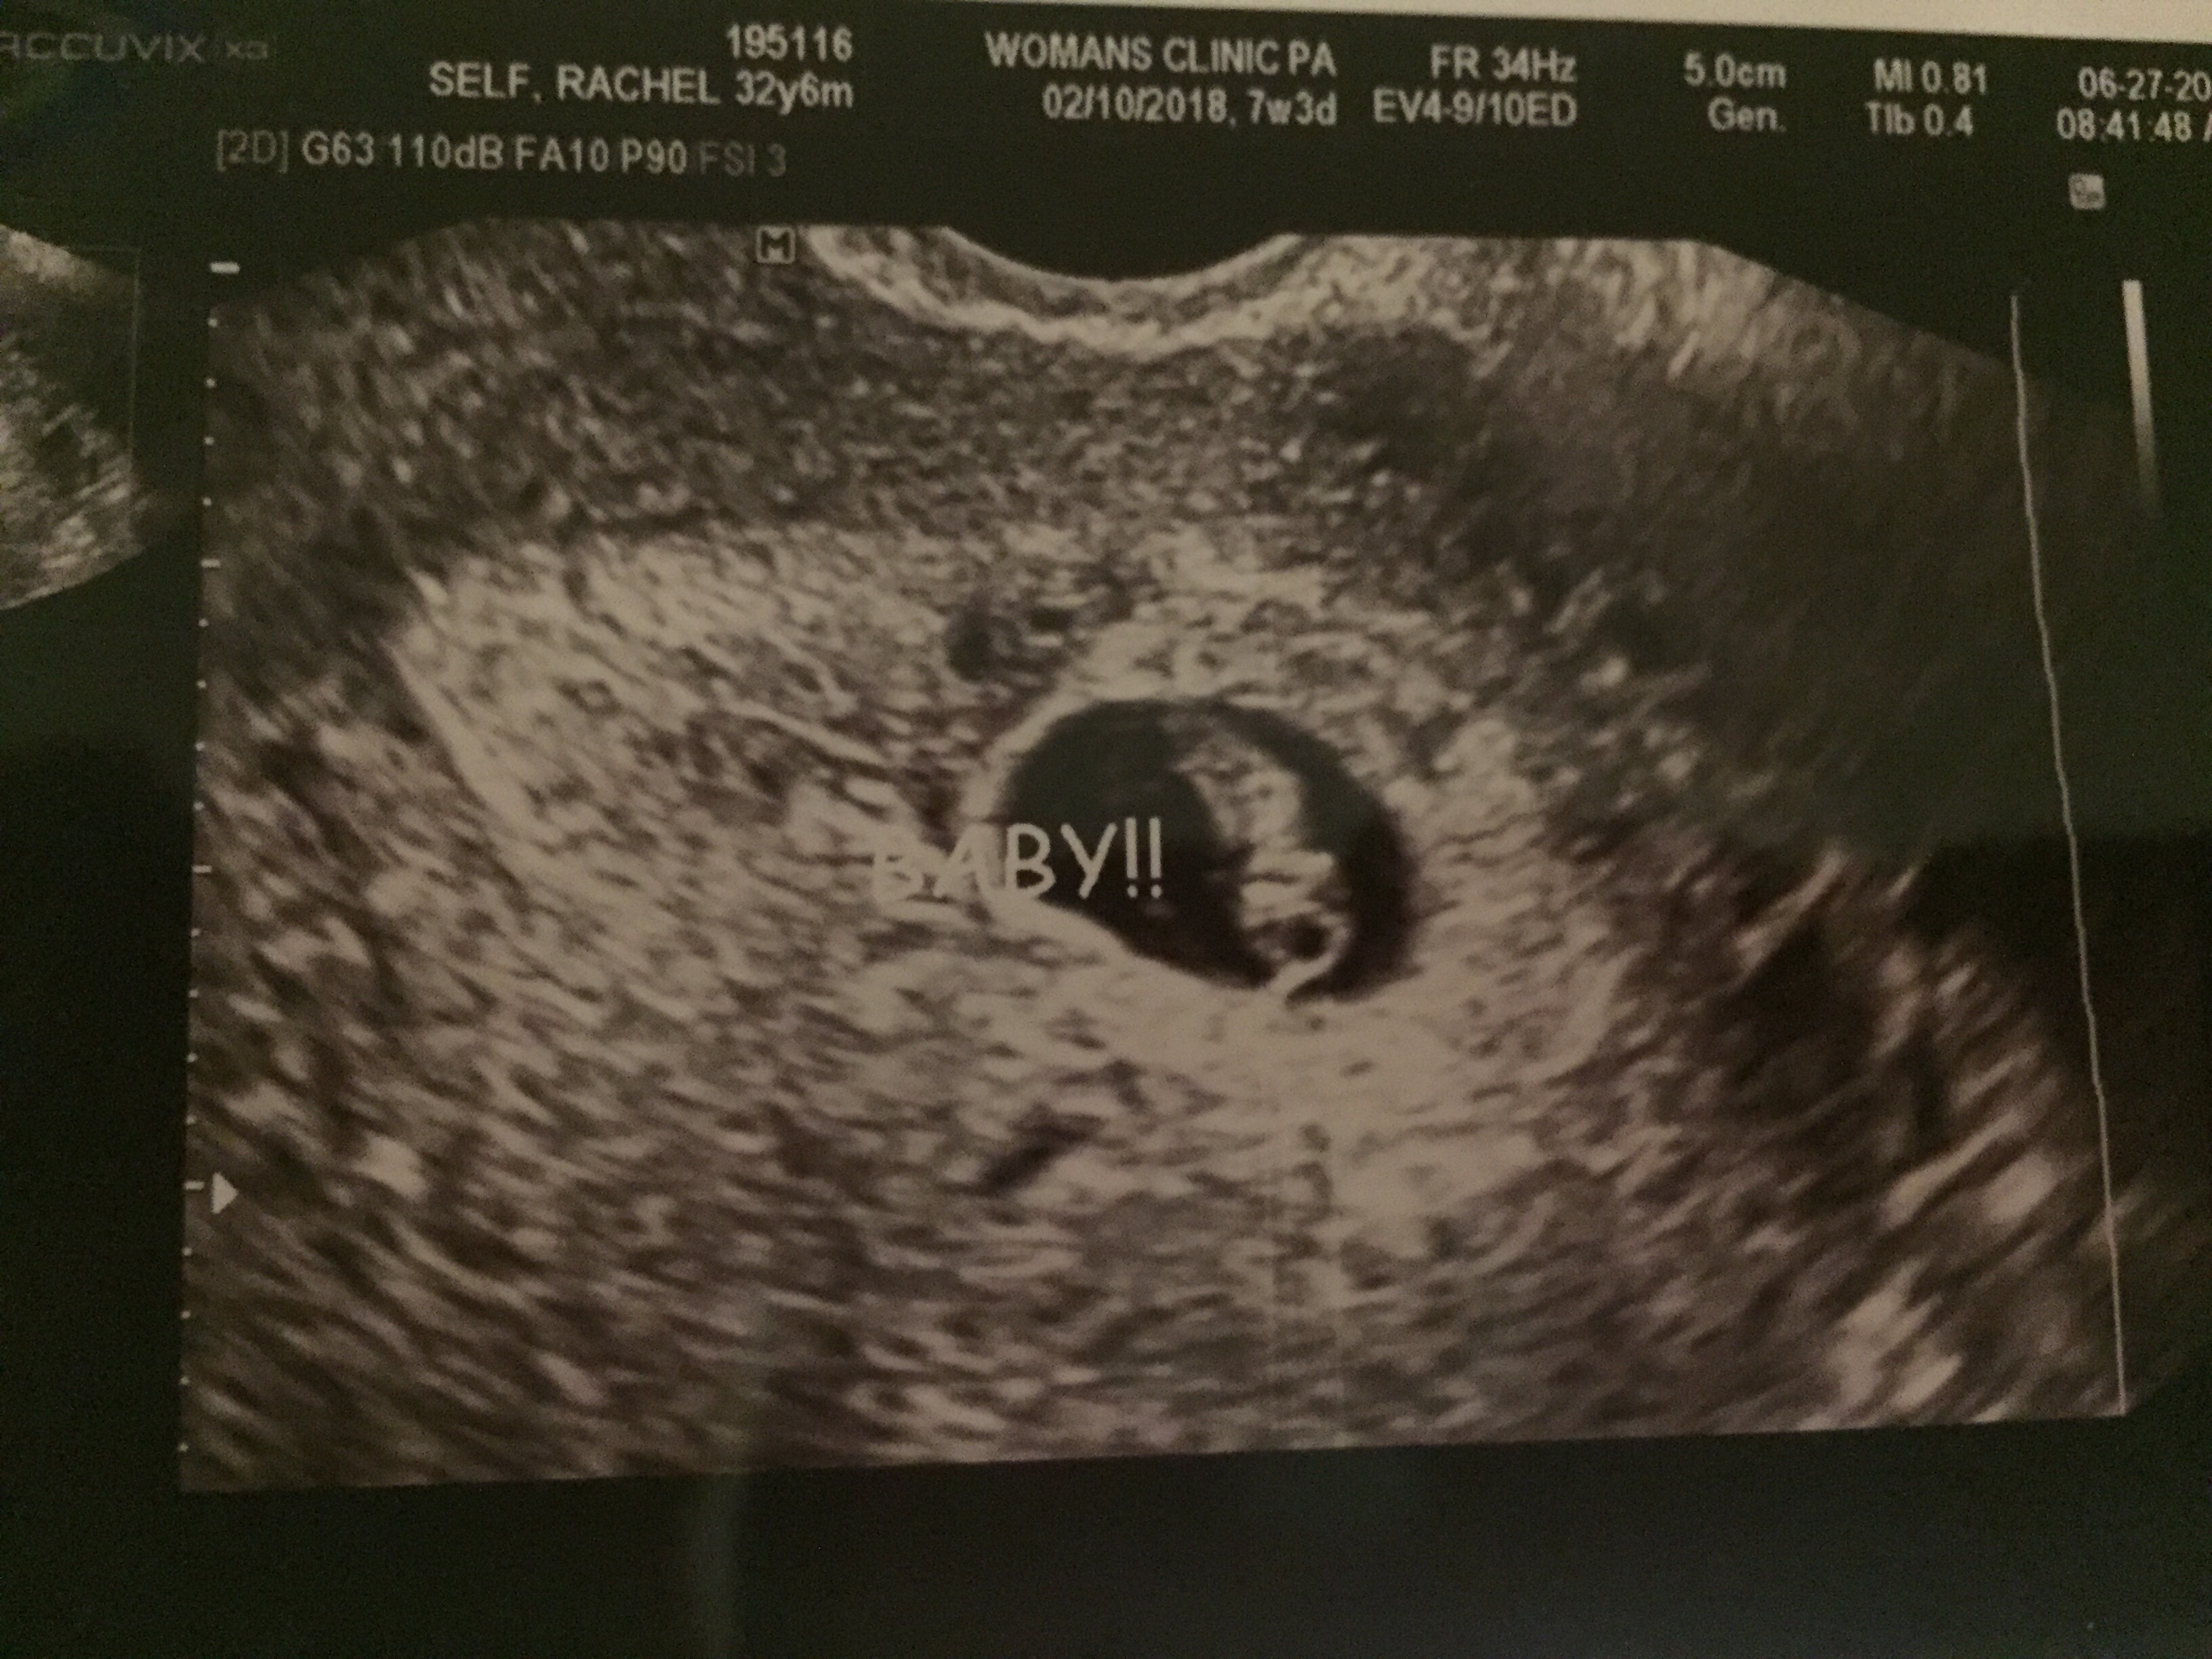
With July came my youngest son’s second birthday and a huge community celebration for Independence Day. The first few days were fun, but something was off. I knew it.  So on Thursday, July 6 I called my OB office. I felt a little silly but I just had a bad feeling.  I knew I would be too worried to wait three weeks for my next appointment.  So I called, and they let me come in just for “peace of mind.”  Only when I got there, I found out what I had suspected. The baby no longer had a heartbeat.

I went home so that I could wait to miscarry.  10 days later I thought my body was finally going to do so,  but five days after that I ended up in the ER late at night. My body wasn’t getting rid of the baby, and I ended up getting a D&C the following day.

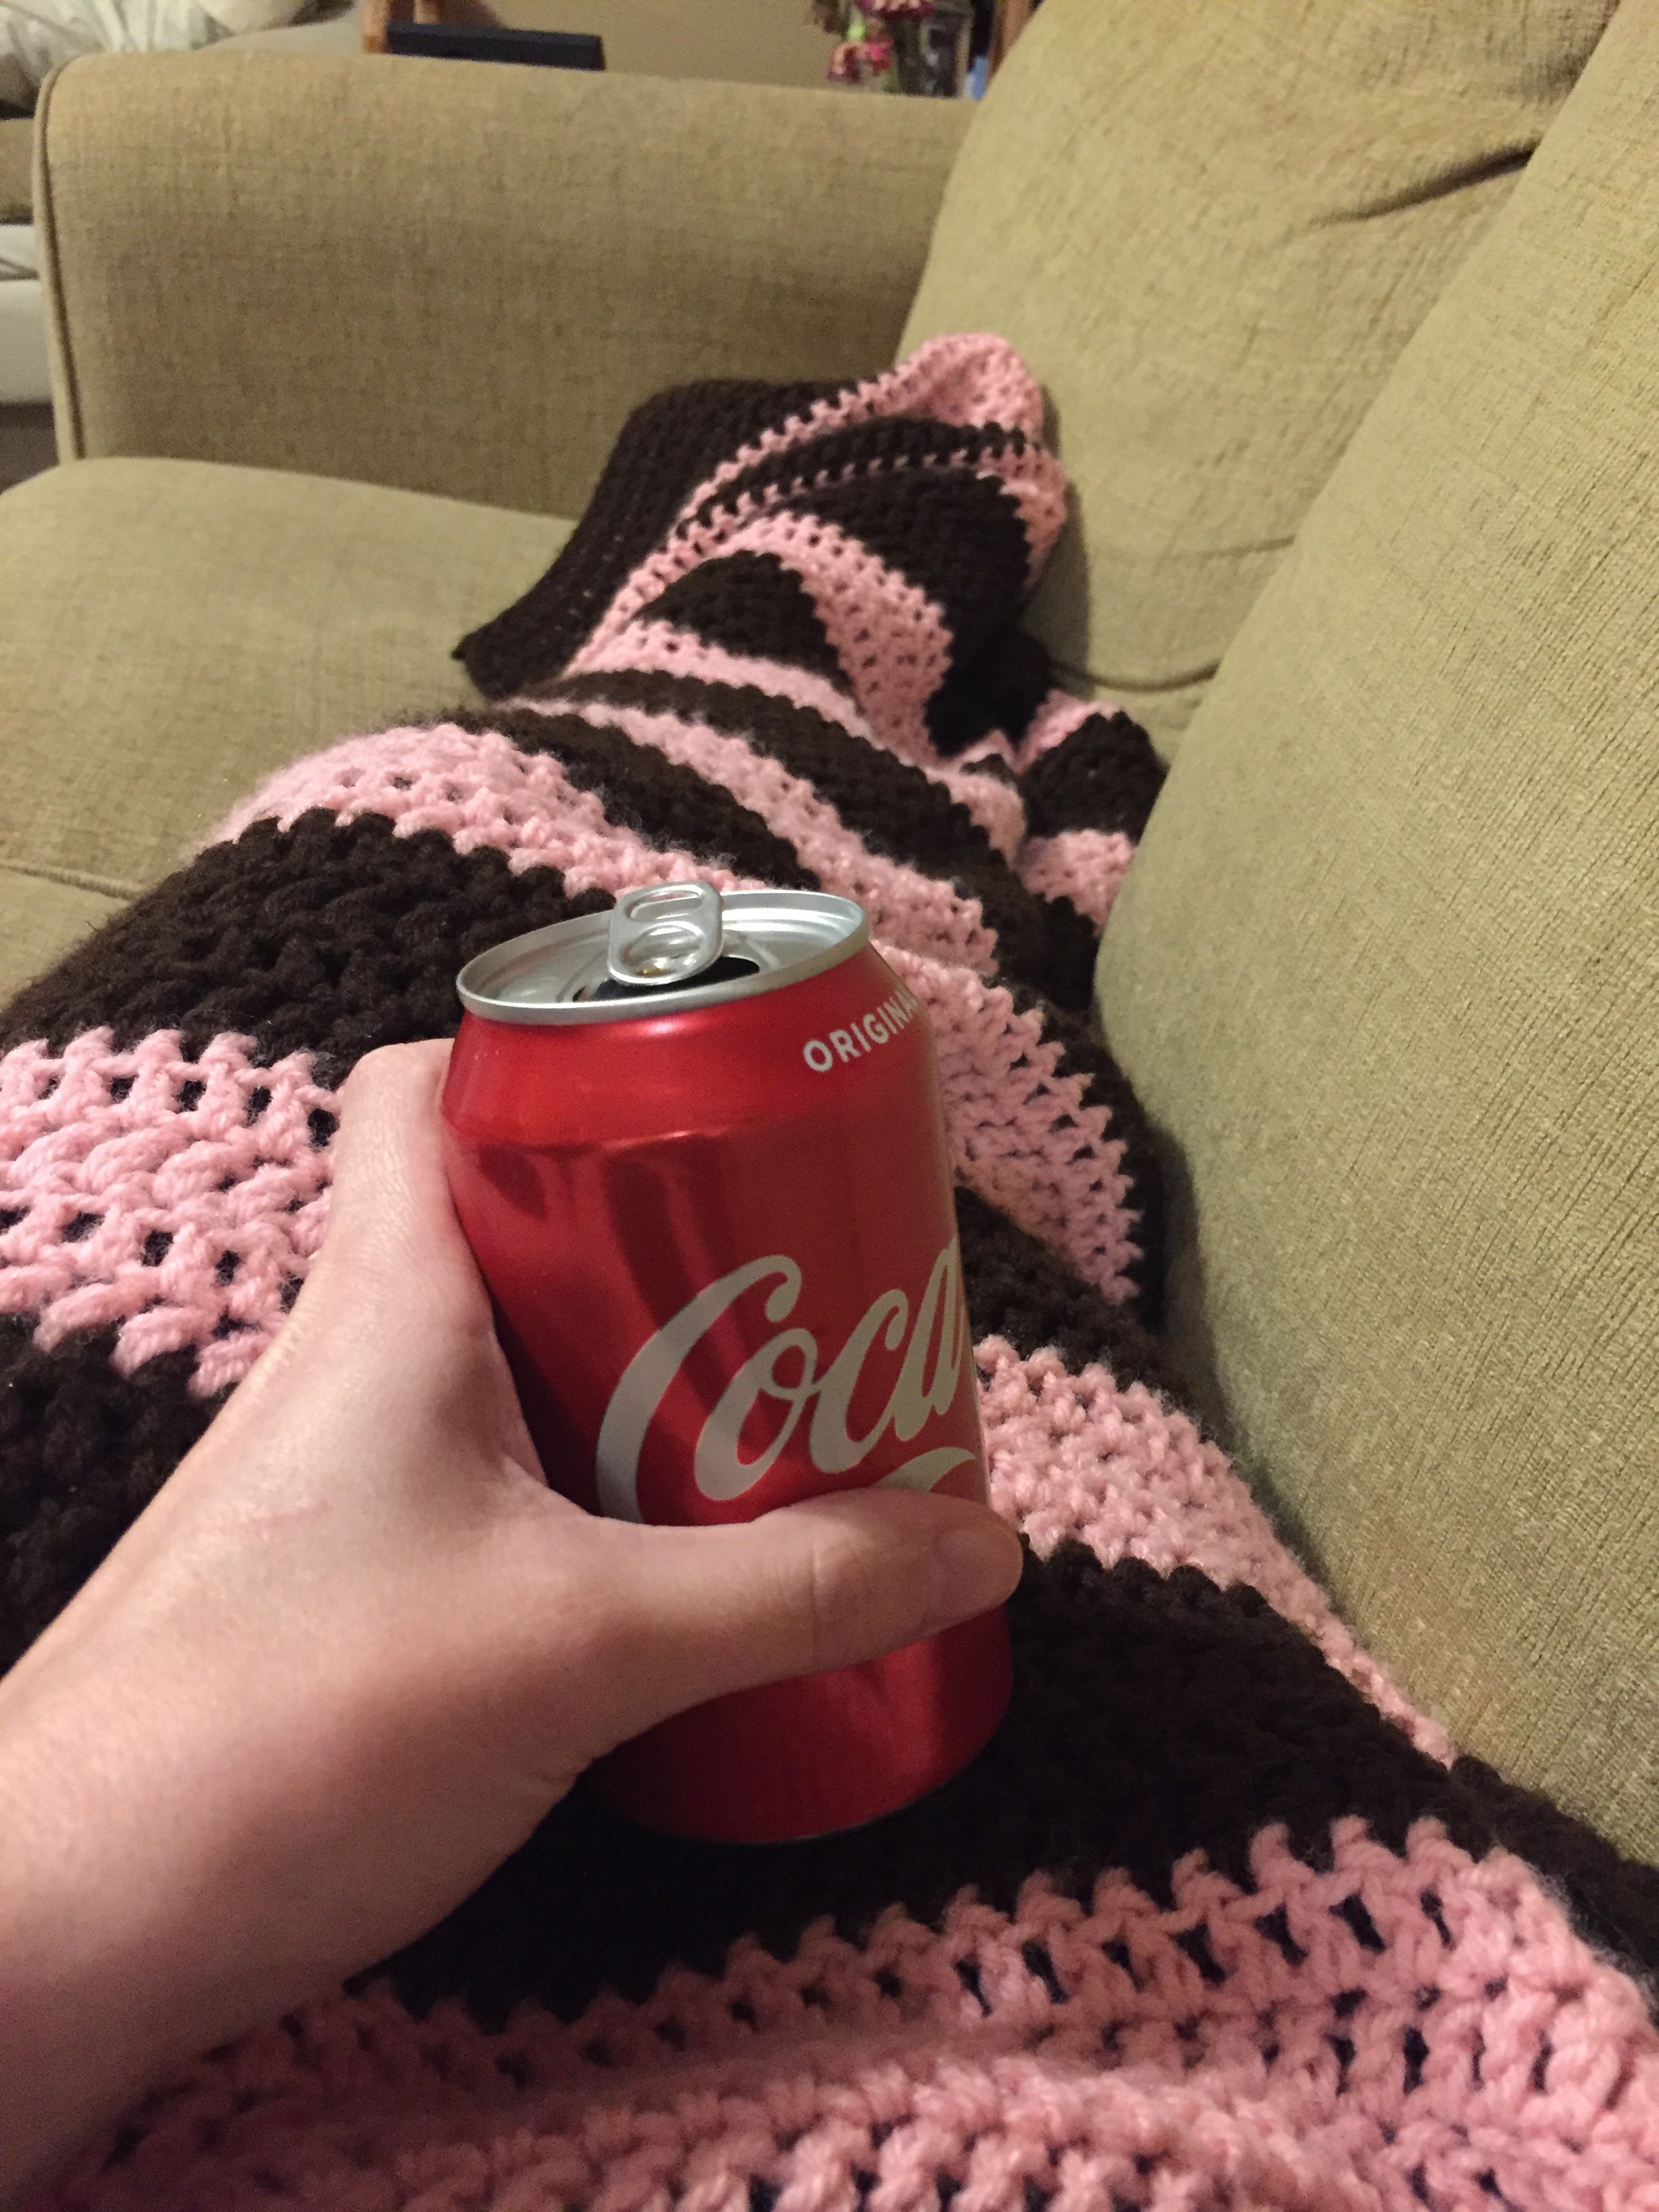
The next week and a half was mostly spent sleeping and laying around on the couch, with my heating pad and a blanket–and of course plenty of Coca Cola & chocolate.  I was told to get lots of rest, and to only get up to go to the bathroom for a week to 10 days.

A lovely friend gave me this blanket when she heard we had lost our baby. It came with a sweet story of hope.

Needless to say, the month of July wasn’t as joyous as the month of June.  August was a time of survival mode at my house.  As September has now begun, I am wading back in to life, and working on finding normal, again.

To get back to meal planning and grocery shopping every Thursday afternoon. To cooking homemade meals for my family and then sitting down at the dinner table with them. I’m even looking forward to starting a load of laundry every morning when I wake up.  It’s funny how you can miss something like that, but it’s time. I crave the routines that give my life a sense of calm and order.

So as I wade back into the real world, in search of “normal,” I just wanted to ask for your prayer.  I’m stepping back into my life as I’m still wading through a lot of emotions about this baby.  I’ve missed you all and your posts, and I’m so so glad to be back among you all as I continue to heal from this.  I hope to post more often, but I’m not going to give any guarantees just yet.  


In love to all my friends & readers, 

Rachel

Creating a Space for Guests

We recently moved our two boys into the same room, so our “nursery” became kind of an empty space.  Then, my parents gifted us their mattresses that were still fairly new–and we were left with TWO sets of Queen-size mattresses for our bedroom.  So, I got this great idea to turn Joshua’s nursery into a guest room.  It was perfect timing, too, because for Revival we invited the guest pastor’s family to stay in our home!

Space for Guests

Here’s how we took just a set of mattresses and turned it into a guest room:

1. We used pieces of furniture we already had!

  • The dresser that had been Joshua’s changing table still worked perfectly as a dresser.
    IMG_9843
  • The night-stand we moved out of Nathanael’s room (to make room for a twin bed in there) paired perfectly with the existing nightstand that was already in Joshua’s room.
  • The nursery rocking chair remained in the corner and served as a perfect place to sit!

2.  We found metal bed-rails.  You can get these at Walmart for pretty cheap, but we were blessed by having a friend offer some that she had in storage!  They work great!  A headboard would look nice, but the room still looks nice without it.

3. We found art for the walls:

  • This piece was one of FIVE free Scripture art prints that I received for registering early for an online homemaking conference last year!
    IMG_9956
  • I picked this one up at a local consignment sale for about $10.
    IMG_9958
  • I bought this beautiful hanging last fall at a local festival.  My intent is to use it someday if/when we have a daughter.  I’d love to do a girl’s nursery with birds and bird houses!  It has been in storage since then, so I might as well use it!  (It’s actually a little brighter than this picture shows.  You can see the color better in the picture of the dresser above.)
    IMG_9957

4.  I bought bedding.  We got ours off of Amazon and it was here in 2 days!

IMG_9841

5. I added some nice touches for our guests:

  • Joshua had a CD player that was for lullabies.  I gathered some worship CDs they would be able to enjoy.
  • I found a notepad and pen, in case they needed to write something down.
    IMG_9843 - Copy
  • I moved a cute trash can from under my desk to their room.  I can still use it at my desk whenever we don’t have guests.
  • I picked up some treats ranging from “pretty healthy” all the way down to “junk food” for them.  Since I didn’t know their tastes in snacks, I wanted to make sure they had plenty of options!IMG_9844
  • For fun, I made this card and placed it in their snack basket.  It’s unnecessary, but it has our WiFi password on it (something we know every guest is going to want!), and I felt it added a personal touch.IMG_9845

All in all, the guest room “project” cost us under $100!  Granted, we were blessed by a totally FREE bed, but you can generally find good deals at local consignment sales, auctions, or even Facebook resale pages.  Look around you!  You might be able to make a nice and inviting guest space too, without too much cost or effort!

I’m in LOVE with this guest space!  I’d still like to add a headboard to the bed, and find matching curtains for the 2 windows, but I’m pleased with it and feel that it is an inviting space overall.  Of course, we hope to someday turn it back into a nursery if we’re blessed with a third child, but for now this room is helping us to serve others outside of our family!

WIN_20170411_15_09_04_Pro
Rachel  🙂


The Power of Shining Your Sink

On Wednesday I woke up feeling….tired.  I just needed a nap.  BUT I had way too much to do for that to happen.  I was behind on laundry.  The house was a mess, and the boys were unusually disobedient.  And then I realized we were out of milk, because Nathanael has suddenly developed an obsession with drinking “mooook” and needs soooo many cups per day.  And  we needed it for dinner.  My normal shopping day is Thursday, and since the store is a 22 minute drive one way, I didn’t want to go 2 days in a row.  So, I set out to do next week’s meal planning and shopping list a day early.  Once I had that finished I headed to the store and did all my shopping.

I got home and went back to attacking my consignment sale items that needed to be entered by Friday.  I delayed on the laundry and cleaning, but at around 4:00 I was pumped to start dinner.  On the meal plan was chicken and dumplings–my absolute favorite!  All through the day, whenever I felt stressed I would just tell myself, “It’s okay because I get to eat chicken and dumplings tonight!”

I hadn’t attempted chicken and dumplings in over FOUR years, after failing miserably at them when I was a newlywed.  Now, I wasn’t even worried about them.  I’ve gotten so much better at cooking meals over the last couple of years, and I figured I’d be able to handle it–no problem.  Or so I thought.  I started the chicken, and then the potatoes that would be a side.  When the chicken finished, I pulled it from the broth, used a little broth to make the dumplings, and then thickened the broth up.  So far, so good.  And then I started dropping the dumplings in.  I dropped 7-8 into the pot, and then lost them.  Like….they disappeared and were magically absorbed into the broth.  I couldn’t find them in there anywhere!  The broth became so thick it wasn’t even usable.

As I gave up and just left the kitchen, I had used half a gallon of milk, half a bag of self-rising flour, all the broth from cooking the chicken, and half of a store-bought container of broth.  I had failed, again.  Even more miserably than the last time.  I cried.  I texted my husband big long teary text-messages, and he came home and saved the day.

He came home, dumped my disaster into the trash, and then made chicken and dumplings from start to finish.  Because unlike me, he CAN make them.  I have no idea why I can’t, and HE can.  But I’m just going to go with being thankful that he saved the day, because otherwise I’ll just feel pathetic.

We barely had time to eat dinner, get ready, and get to church.  I was 5 minutes late for church, and I was supposed to be teaching the preschool class.  Sigh.  What a LOVELY day.

After church I needed to come home and clean the mess of a kitchen, but I just. didn’t. feel. like it.  I turned on a TV show, and laid on the couch for 2 hours.  We didn’t put the boys to bed until after 10:00.  And then I looked at the kitchen.  I felt paralyzed.  I did NOT want to even touch it.  Couldn’t I just go to sleep and leave it for tomorrow?

IMG_9810
Yes, there was even food splattered on the bottom of my sign.


I could.  I knew I could.  But then I looked at my “Shiny Sink” reminder sign and felt a twinge of guilt.  I remembered something a friend had sent me that came from the Fly Lady.

“When I procrastinate, it’s as though I am punishing the future version of me…..As though the person who will live in my body tomorrow is a totally different person.  One who either really loves doing dishes or someone I just don’t like–and therefore it’s a good idea that she have a kitchen full of 2-day-old dishes to take care of.  Amazingly, though, it was always still me that had to get up the next day and face the ugly kitchen, the dirty floor, piles of clothes, etc.”

As I reflected back to this quote, I knew that I did NOT want my Thursday to start off just as badly as my Wednesday had gone, and I decided to bless the me of tomorrow by giving “her” a clean kitchen to begin “her” day.

So, at 11:00 at night, my kitchen looked like this:

Yuck.  It stresses me out to even see these pictures.  I started by putting away all the clean dishes.  Then I re-loaded the dishwasher as much as possible.  I scrubbed and rinsed the remaining dishes, and then cleaned the counters.  It sounds quick to say it like that, but it took me TWO. FULL. HOURS.

At 1:00 am I headed to bed, and my kitchen looked like this:

Ahhh…..  Breathe.  I literally stood in the kitchen when I finished, just breathing.  It was like for the first time all day, I felt peace.  I breathed, and then I headed to bed.  And I slept wonderfully.

And the best part?  Thursday’s version of me woke up to a house that was ready for my day.  I was busy with THAT day’s chaos, which we all know–is enough for the day.  I’m so thankful that I didn’t have Wednesday’s chaos still hanging over me.

I’m so incredibly grateful that I remembered the Fly Lady’s wisdom in that moment, and was able to bless myself with a better tomorrow, and give my family a more peaceful mother and wife.

WIN_20170317_21_29_14_Pro
Rachel  🙂

Keep Flying and Shine Your Sink!

How to Can Deer Meat

My favorite way to eat deer is from a can, and anytime I mention Canned Deer Meat to anyone, they’re either instantly curious or instantly repulsed.  I’ve yet to meet someone who has ever had canned deer meat, outside of my family.

I was born in West Virginia, where my Dad, Papaw, uncles, and anyone male loved spending their time deer hunting.  I don’t remember all the different ways we ate deer back then, but we’ve been eating canned deer meat for as long as I can remember.

My husband killed his first 2 deer in 2015, and my mom took care of all the processing for us!  We had canned deer for quite a while from that.  Since then, though, he hasn’t hunted, because he hasn’t wanted to spend the money on a hunting license.  So we’ve been missing out on a lot of yummy meals!

how-to-can-deer-meat

A couple of months ago, a wonderful church member killed a deer, and he dropped it at our local processor, paid the processing fees, and gifted it to us!  #BestGiftEver.  The processor can do lots of things, but we had him to keep it basic on the front/hind quarters (LEGS), so we got them from him, all cleaned, sealed up and frozen.  They were huge!  Like, as wide as our upright deep freeze!  Since it was Christmas time, we kept it frozen until a few weeks ago when we were ready to do the canning.

I’ve never done the canning before, so we asked my Mom to bring her pressure canner and come show us how.  To be honest, she did most of the work.  That’s what moms are for, right?  I’m kidding about that; we just didn’t have much room for all of us to work at once in our kitchen.

About 3 days before my Mom came over, we moved the meat from our freezer to our refrigerator to let it thaw.  By the time she came, it was mostly thawed, but had a few small frozen spots in the middle.  As for the rest of the process, it was really pretty easy:

  1. Sterilize the jars & rings.  We just boil them for a few minutes.
  2. Cut the meat.  We began by cutting the meat up into small cubes, about 1″ wide.  We discarded any of the white filmy substance that was on the outside of the meat.
  3. Fill each canning jar with the raw meat.  Stuff them full!  As they cook, they will settle a bit in the jars.
  4. Add salt.  My mom usually sprinkles some brown gravy mix in each jar, which would contain some salt as well.  We didn’t have any gravy mix, so we just used a little bit of salt.  The taste is the same!
  5. Put lids & rings on each jar, and place jars in the pressure canner.  There should be water in the canner, according to its directions.
  6. Seal the pressure canner, and begin cooking.  Be sure to follow instructions for your canner on this step!  You want to seal the canner, and then slowly bring up the pressure.  Once it’s at full pressure, cook your meat for about an hour.  (YES!  It cooks AFTER you put it in the can!)
  7. Gently slide pressure canner off of the heat source.  Allow to cool and de-pressurize.  Do NOT open the canner until the pressure is completely down!  It is very dangerous.  When you do finally open the canner, lift the side of the lid that’s furthest away from you, so that the steam comes out away from your body.  This is very important, as the steam will be very hot and could cause burns!
  8. Gently remove cans from the canner.  Line them up on a dish towel on your counter.  Within an hour or so, you should hear each lid “pop” as it seals.  If you aren’t listening for the pops, it’s okay.  Just make sure each lid has sealed before you put them away.  If one does not seal, the meat will ruin–so you’d want to put it in the fridge and use it in a meal right away.  You can tell the lids have sealed because they will be slightly domed inward.
  9. That’s it!  Your meat is finished and ready to put away with the rest of your canned goods.  It will remain good for at least a year–though ours never lasts that long!

All in all, it’s a pretty simple process.  The hardest part is cutting the meat up.  We LOVE canned deer meat for so many reasons, but the biggest reason is that it makes for several fast and easy meals!  As a busy mom, or even a not-busy mom, it’s always great to have a meal on hand that you can prepare in 15 minutes–and canned deer meat makes that possible!

Stay posted for a post on my favorite quick recipes for using canned deer meat!  They are delicious and easy!

img_9694
Rachel  🙂