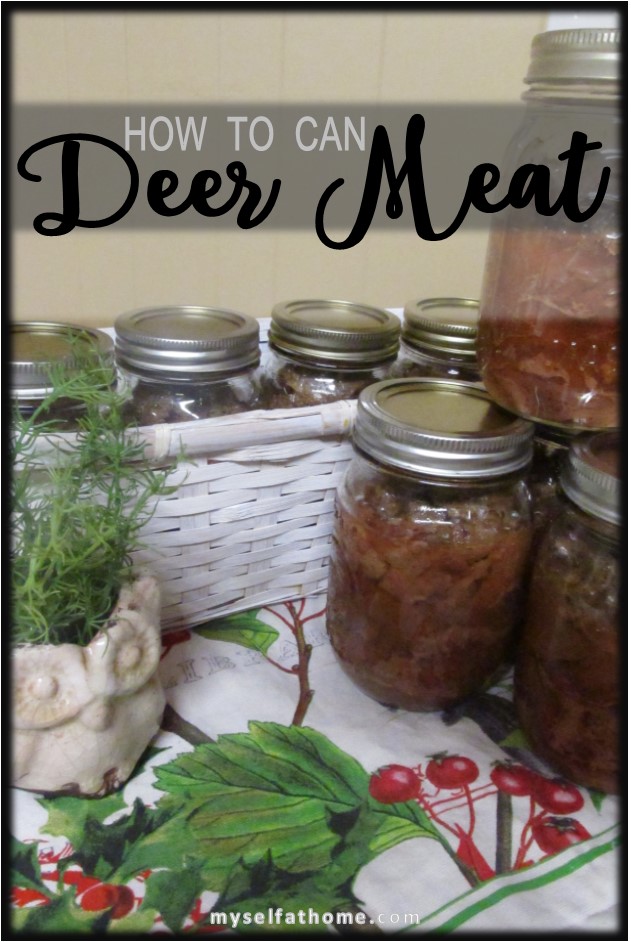
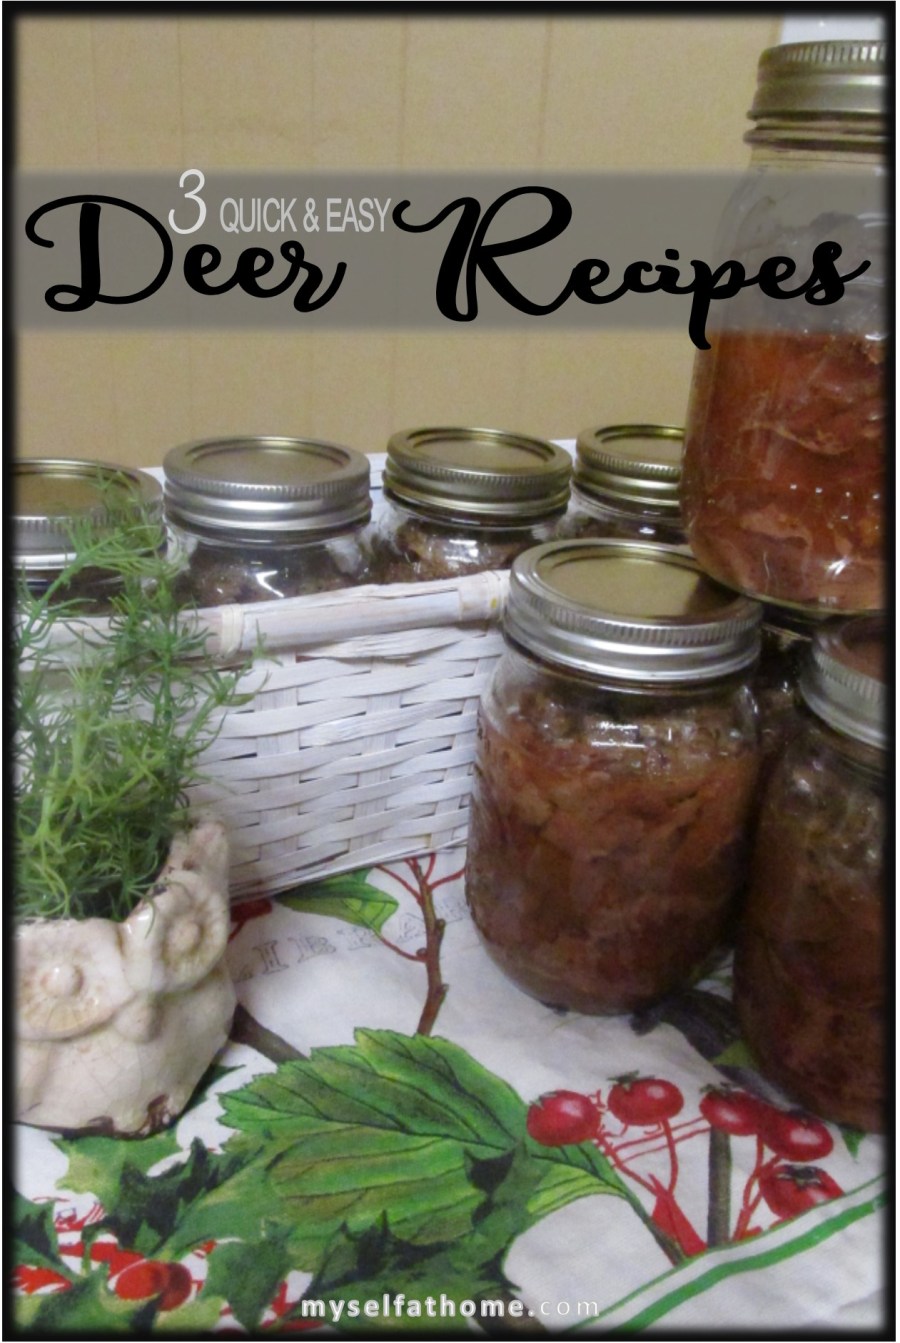
The day is finally here! I promised to share a few Quick & Easy Deer Recipes for using canned deer meat! (I will post later about our favorite recipes from our non-canned deer meat.)
On Wednesday night this week, we had Open-Faced Roast Deer, so I wanted to walk you through this recipe completely, and then at the end I’ll share two more basic recipes briefly.
Open-Faced Roast Deer
Besides the taste (YUM!), my favorite thing about this recipe is that dinner can be ready in less than 15 minutes! I’d like to say 5 minutes, but since I have 2 toddlers I’m never able to do anything that fast.
 First off, gather your ingredients:
- 2 Cans Deer Meat
- Instant Potatoes
- Salt & Pepper to Taste
- Butter to Taste
- 2 Packs of Gravy Mix
- A Loaf of Bread
That’s it! Sometimes I use milk in my instant potatoes. This time I pulled it out and ended up not using it. That will just depend on how creamy you want your potatoes.
Now you’re ready to start:
- Boil water for your instant potatoes. I never measure these, but you can follow the directions on the box for about 3 cups of Mashed Potatoes.
- Add salt, pepper, and butter to your water as desired.
- Empty the 2 cans of deer meat into a second saucepan. Bring to a boil, stirring occasionally.
 Freshly Dumped from the Cans
 After about 3 minutes of cooking the meat begins to fall apart.
 Boiling
 Most of the juice has boiled down by now.
 - Mix the 2 packs of gravy mix into 2 cups of water. Pour into a skillet over medium heat and bring to a boil, stirring frequently. Although the deer has made its own broth, most of it will boil away (as you can see in the above pictures), so I always like to make some extra gravy. This week I only made about 1 cup of gravy, but 2 cups is best!

- When the water for your potatoes boils, mix in potato flakes, a little at a time, until the potatoes are your desired consistency.
- At this point, the meat and gravy should be boiling. Stir each dish one last time, pour the gravy over the meat, and bring to the table. You are ready to eat!

This is EVERYTHING you need for your meal! Bread, Potatoes, and the Deer/Gravy Mixture.
Building Your Open-Faced “Sandwich”
First Layer: BREAD
Second Layer: Mashed Potatoes
Third Layer: Meat & Gravy
That’s it! Enjoy your meal! My family did!
Want to make it from scratch?
Now, I understand that many of you may not want to use all the processed food. I understand! We rarely use it ourselves, BUT the quickness of this meal makes it worth it to me. I have, however, made everything but the bread “from scratch”, and it’s been an excellent meal. It will just no longer be “Quick & Easy”. However, if that’s something you want to try, you’ll just want to (1) Save beef broth from a previous meal or pick some up from the store. You can use this recipe to make the brown gravy yourself. And (2) Make the mashed potatoes from actual potatoes! It just takes a little bit longer. If you want to make your own bread, go for it! I haven’t been that brave yet!
Now, you can also make this with beef, and it is *almost* as good. I’ve used canned roast beef from the store, but it’s quite expensive. I’ve also actually roasted an entire beef roast in the crockpot for 5 hours, and then pulled the beef & used the broth to make gravy. It’s delicious that way as well!
Two Other Ways to Use Canned Deer:
- DeerBQ. I have another recipe for DeerBQ that comes from baking the entire front quarter for several hours, pulling the meat, etc. That one ends up with a similar feel to NC or TN pulled pork BBQ, though the meat is definitely NOT pork. THIS recipe is quite different, and I feel more closely resembles the chopped brisket that you’ll get in TX as barbecue. To make it, your meal will be ready in FIVE minutes! Simply dump the can(s) in a saucepan, and add barbecue sauce. LOTS of barbecue sauce–like ¼ of a bottle. As soon as you’ve heated it, just serve it on a bun with the sides of your choice. So easy and delicious!
- Deer Stew. Empty the deer cans into a large pot, and add veggies and a little extra water or beef broth. Throw in whatever seasonings you like. I use garlic, salt, and pepper, and every now and then throw in a dash of hot sauce or some chili powder for my husband who loves a little kick. Cook until boiling, and until veggies are soft when pierced with a fork. This will vary depending on what veggies you use. (I often throw leftover veggies, like the potatoes & carrots from a roast, into the stew.) You could also make it in the morning and put it in a crockpot for dinner. On high it will be ready in less than 5 hours. On low it will take about 7-8 hours.

Note: I plan to make recipe cards for each of these meals, but it will probably be a few days before they are up! I apologize! I will update here when I get those up. In the meantime, feel free to browse some of my other recipes at http://www.myselfathome.com/printables.